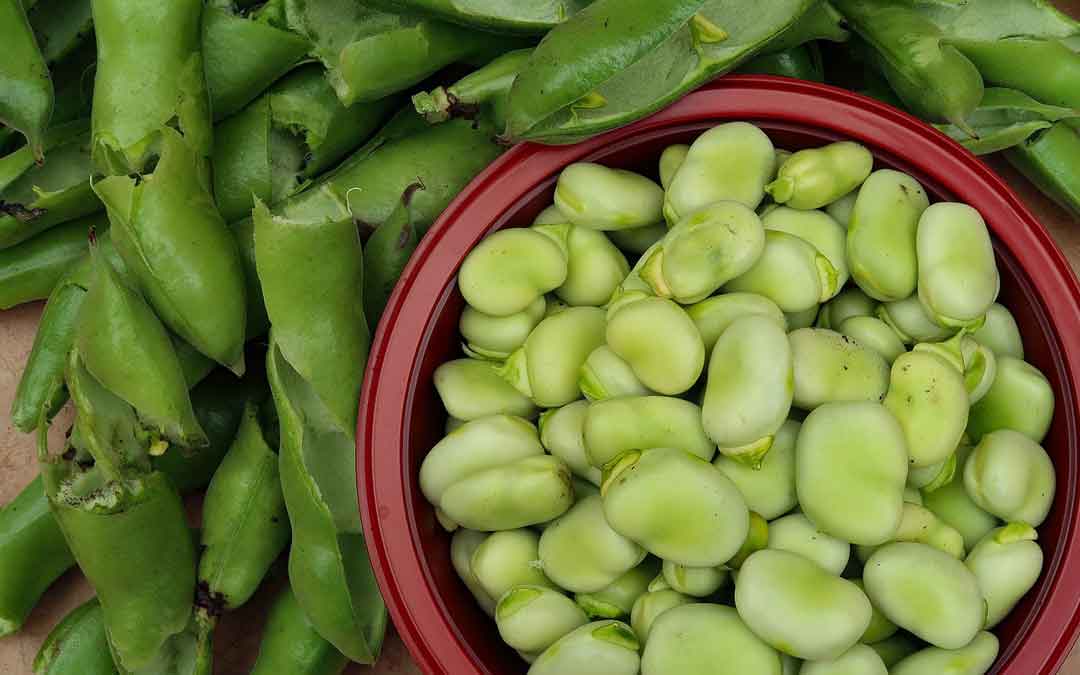
Broad bean bonanza!

Top hints for growing broad beans
- add potash to soil
- plant beans 5cm deep
- support plants to prevent stem breakage
- remove tips to prevent black fly
Broad beans are a wonderful crop to grow for 4 reasons. They are a delicious and nutritious food, they add nitrogen to the soil, supply great colour, and attract bees to aid pollination in the garden.
Broad beans are sown from autumn to spring, and now is a good time to plant them. They are frost tolerant. Autumn-sown plants will be ready for harvest in 25 weeks and spring-sown, in 15 weeks. Broad beans require an open, sunny position, and shelter from wind if possible. They thrive in neutral soil. To prepare your beds, fork over your soil to aerate it and dig in a low nitrogen, well rotted animal manure such as cow, sheep or horse plus compost to provide organic content, nutrients and good drainage. Sprinkle potash at the rate of 1 tablespoon per square metre to strengthen plant stems, encourage flowering and prevent fungal diseases.
Plant spacing depends on the variety and height but is generally in the realm of 20-30cm apart in rows 40cm apart. Follow the directions on the packet. Double rows close together can be sown so that the rows support each other. Crimson Flowered and Chocolate Flowered grow to 90cm, Coles Early Dwarf, Scarlet Cambridge and Aquadulce to 1m and Early Long Pod to 1.5m. The tall ones are divided into long and short pod varieties. Planting depth is recommended between 2-10cm. I always plant at least 5cm deep to avoid rats eating the seed. Soak your seed in either water or a weak seaweed solution overnight and once planted, water the seed in and don’t water again until the shoots emerge above ground. Once the flowers have opened, water well so that the pods develop properly. Constant picking of pods causes plentiful new growth.
Broad beans don’t suffer from many pests but snails can be a problem. You will see them at night on the leaves. Snail bait takes care of them or you can remove them by torch light. Black fly can infest tender top shoots, and is remedied by picking out the tips before the fly attacks. Definitely remove once infested. Black spots are caused by the Chocolate Spot fungus and results from poor drainage. Best to destroy plants with fungal problems and rotate crops so that you are not replanting in the same soil.
There are various ways of supporting broad beans so that their brittle stems don’t snap in the wind. They can be individually staked with bamboo but that is a lot of work; they can be supported by 4 corner stakes surrounded by a cordon of heavy string which can be further criss-crossed in a lattice pattern; you can use last season’s corn patch (corn must be grown in a grid pattern for wind fertilisation) – leave the stripped stalks in place as a support structure and also add a string lattice; or you can use your tomato cages from summer which is a handy way of storing them.
Broad beans convert nitrogen and bacteria from the air into nitrogen root nodules so when the crop has finished, slash it and dig in the stalks and roots to add valuable nitrogen to your soil. You could also cut the stalks at their base and leave the roots intact in the soil and dig the shredded stalks into another bed.
Save seed from your crop for next year. The easiest way is to leave pods on the plants until they dry out, then shuck the pods and store the beans in an airtight container.
Good companion plants include corn, potatoes and lettuces but fennel is to be avoided.
Broad beans are delicious when young and small but tough when they are older and bigger which sometimes gives them a poor, undeserved reputation. Young broad beans can be steamed, or eaten pods and all. The tips can be stir fried and the flowers, whether the fragrant black and white, crimson or chocolate varieties, can be eaten in salads. Tough older beans can be steamed and double shelled, removing the tough grey outer skin. Mashed broad beans with lemon, dill and creme fraiche make a delicious dip.
Related articles
Written by Robin Gale-Baker.
First published in Local Food Connect newsletter. Updated March 2021.
